Citizen Science
“Moths have great potential in citizen science. Moth-watching, and especially moth photography, are taking off as a new great craze after bird, butterfly, and dragonfly watching. Get a moth trap and help discover your local biodiversity thus providing a baseline for monitoring changes in the environment.” – David Lees & Alberto Zilli, Moths: A Complete Guide to Biology and Behavior
Citizen science
We need your help!
The distribution and natural history of many moth species remains little known. For most of us moths are not on the top of our minds. They are simply the boringly-brown bugs that fly frenzied around the street lights on hot summer nights. Or perhaps the pests that cause damage to our clothes or that we read about causing damage to certain trees.
Truth be told some moths are boringly-brown and others prone to pestilent outbreaks on plants or trees. But moths also represent one of the most diverse insect groups on the planet, outnumbering butterflies approximately 9-to-1, and exhibiting myriad characteristics in size, shape, color, and wing-patterning. Considered the most speciose insect lineage adapted to depend on living plants during their life cycles, moths serve ubiquitous roles as herbivores, pollinators, and prey in terrestrial ecosystems and food webs.
Like the quote at the top of this page conveys – “mothing” is growing in popularity and observations made by citizen scientists of all ages can contribute valuable information to better understand the distribution and natural history of moths in local areas and across the country.
So, how can you do your own “mothing?”
It’s easy! Details below on different kinds, where to buy a bulb, and how to put it all together.
All you need to get started is the following:
- Ultraviolet light
- Bucket or mesh hamper, and egg cartons
- Camera
- Download the app for Iphone or Android and submit your observations to help identify and record your findings
1. Leave a light on for them!
It is commonly known that moths are attracted to light. The easiest and cheapest way to attract and observe moths is to simply leave your porch light on and observe what visits it after sunset and before sunrise each day. Not all types of light attract moths equally, though, so use ultraviolet or mercury vapor bulbs for the best results. These types of bulbs can be found at entomological suppliers like BioQuip, major retailers like Walmart, Lowes, Home Depot, your local hardware store, or online platforms like Amazon.
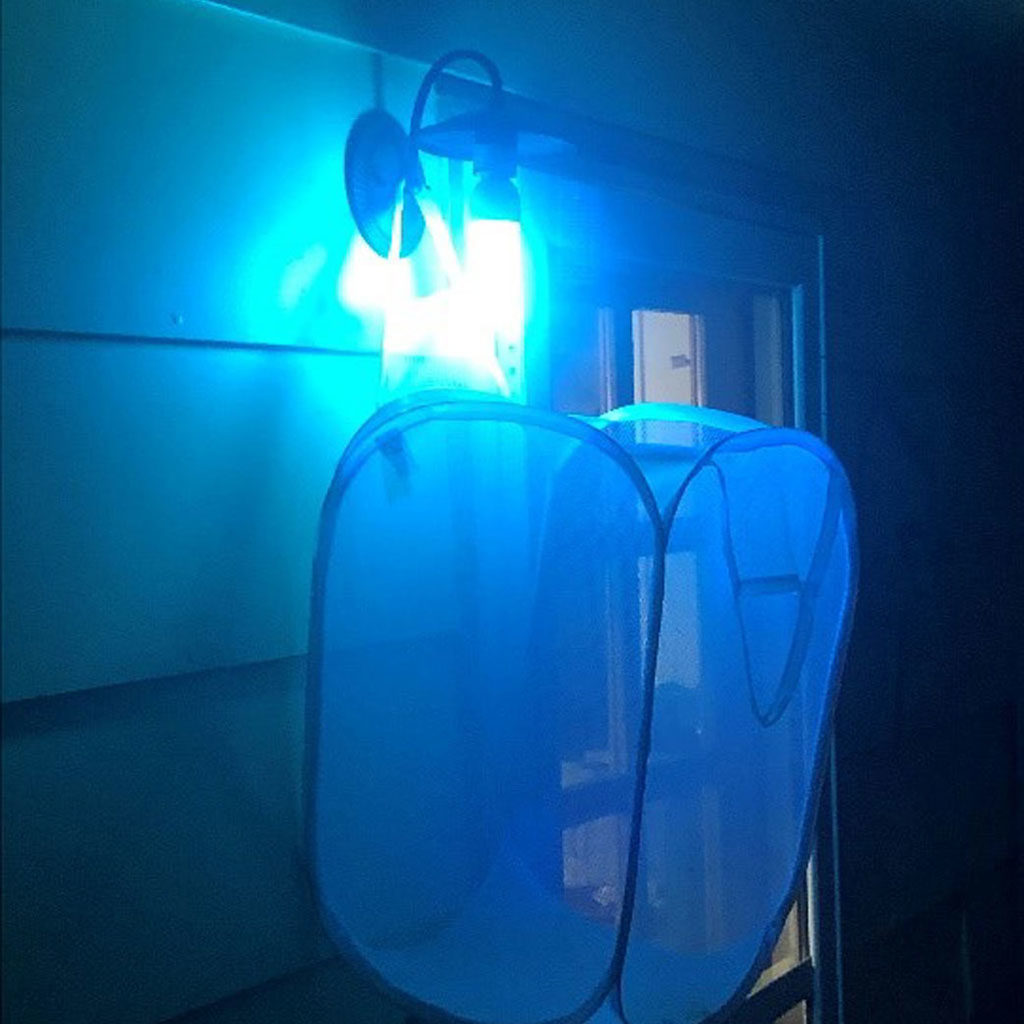
Hang a Hamper
Hanging a collapsible clothes hamper below your porch light is a great way to provide surface area for visiting moths to rest on.
Here are examples of a several bulbs that we (and others) have found to be effective:
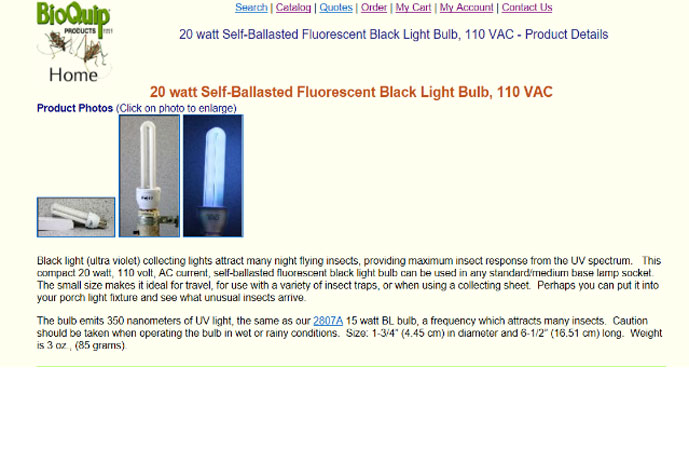
BioQuip Products
20 watt Self-Ballasted Fluorescent Black Light Bulb
Learn more…
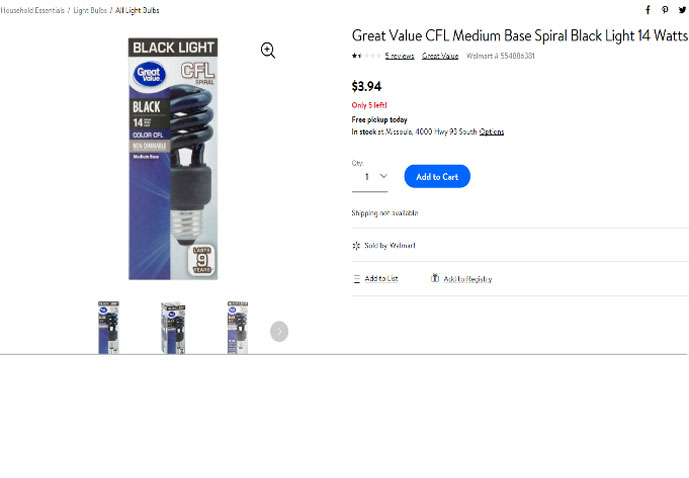
Black Light Bulb
CFL Light Bulb, 14 Watt Spiral Lamp E26 Medium Base, Non-Dimmable, Black
Learn more…
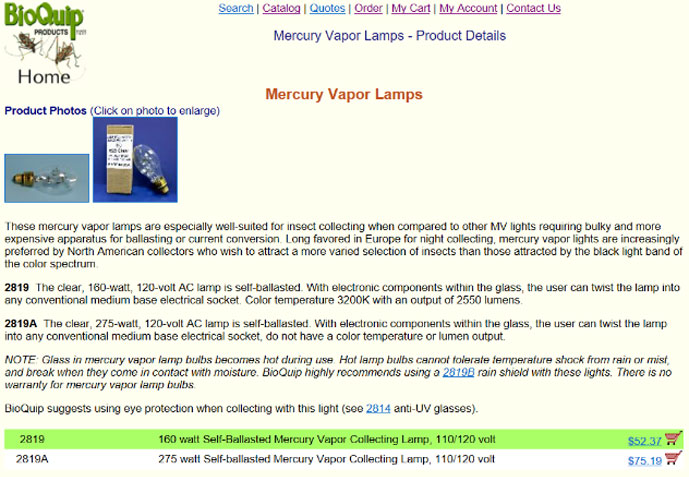
BioQuip Products
Mercury Vapor Lights.
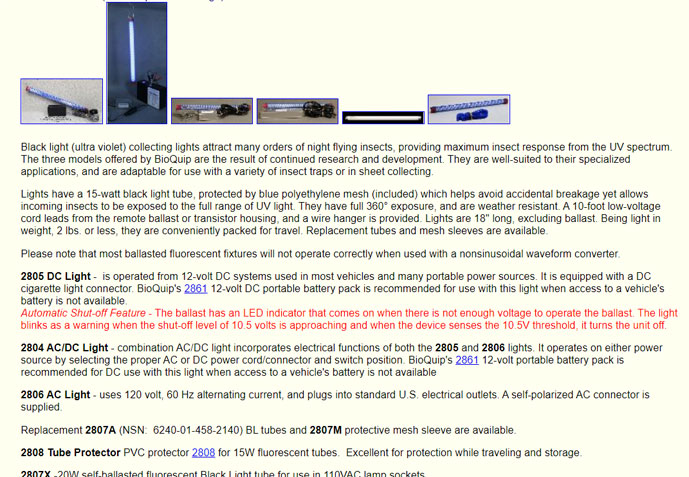
BioQuip Products
AC and DC Night Collecting Lights.
Learn more…
2. Moth Traps
Moth traps are an effective (and popular) way to attract, capture, and observe moths. There are many ways to design a trap but the basic premise is a receptacle (like a bucket or planter) to hold the moths, a funnel-like opening to direct moths into the receptacle, and a UV light source above to attract moths. Traps can be designed to operate off of mains (120 VAC) or battery (12 v) power sources. DIY traps can be assembled rather cheaply, often with items found in your garage, at the dollar store, or your local hardware store. It’s best to put surfaces like egg cartons in the receptacle to provide resting and hiding spots for the captured moths.
Here are some examples of DIY moth traps:
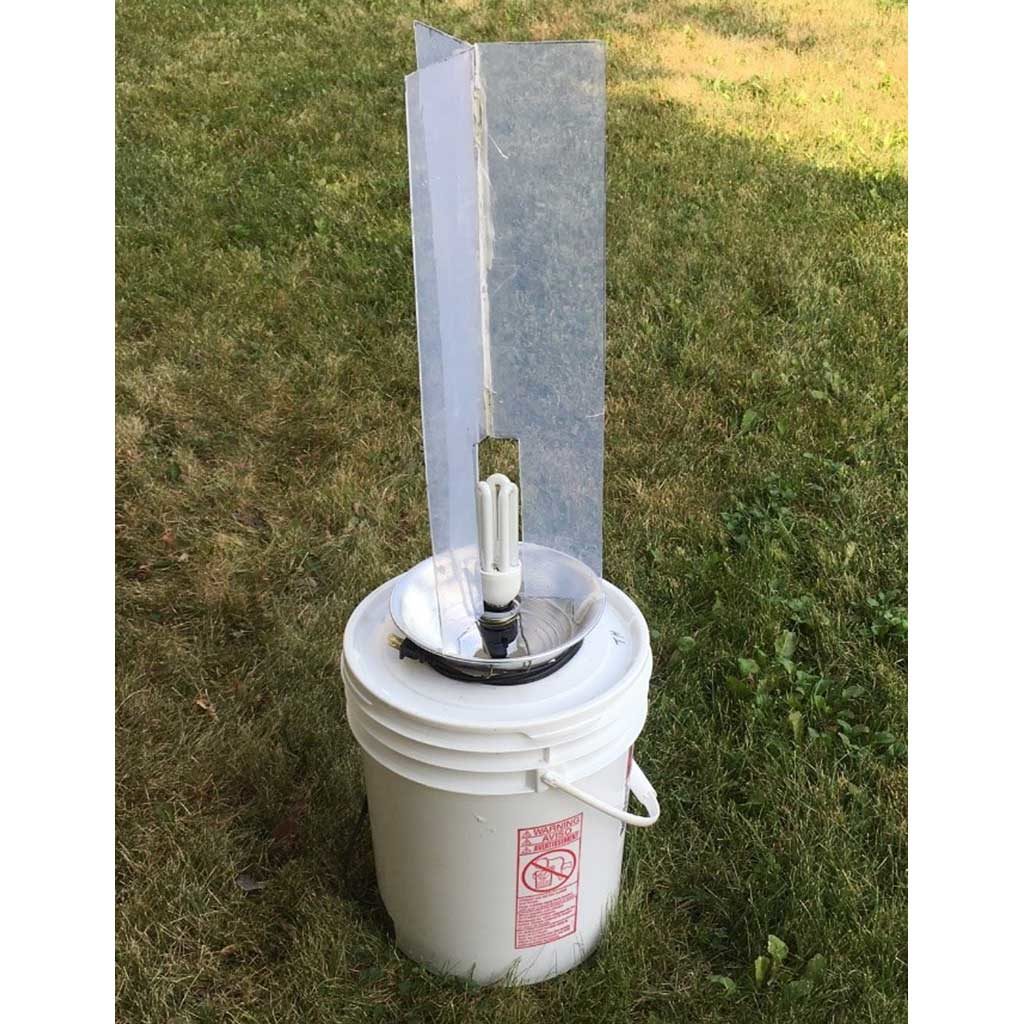
Bucket Trap
“Bucket” traps are a common DIY moth trap. These traps generally consist of a 5-gallon bucket, some kind of funnel, and a light source. This is a trap we built with materials found in our garage. The funnel is a clamp light that can be found at just about any hardware store or home supply box store. We cut out the light receptacle from the aluminum housing then cut a hole in the top of the bucket lid and glued the aluminum housing to it. The hole in the aluminum housing and bucket lid allows moths to fall into the bucket. We cut a piece of metal clothes hanger, wrapped it around the light receptacle, then slipped the end through holes in the aluminum funnel to suspend the light above the entrance hole. To create the baffles we cut pieces of an old plastic tote into the appropriately shaped pieces and then using chalking to adhere them together and to the aluminum funnel.
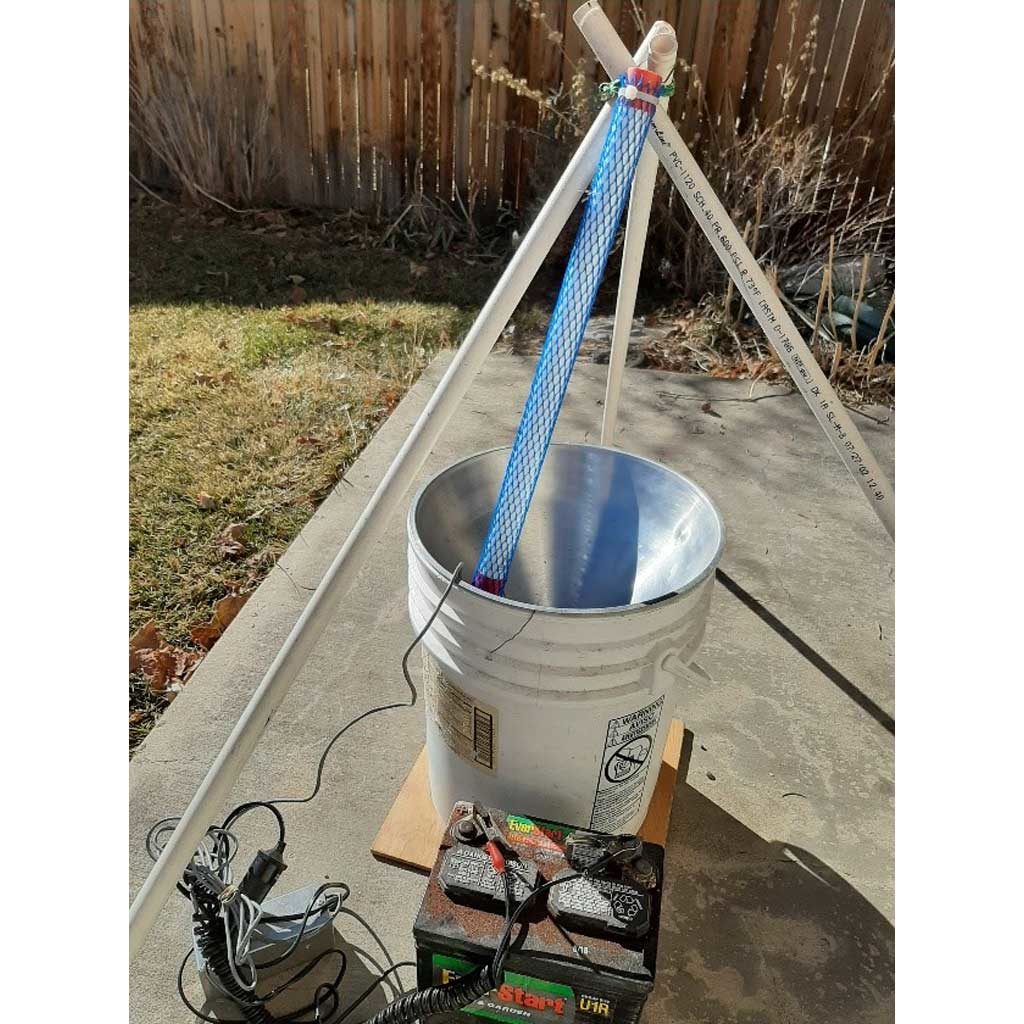
Bucket Trap
Here’s another variation of the bucket trap. This one rigged to run the light source off a 12-volt battery, in this case a car battery. You’ll need some specialty parts and electrical wiring knowledge to do this yourself. Otherwise, lights already wired with the appropriate connections can be purchased from BioQuip or LepTraps. All you would need is a battery to hook them up to. You’ll notice this trap doesn’t use “baffles” and that is fine. A trap with or without baffles will still catch moths. The one with baffles may just catch a few more. Photo credit: Chuck Harp
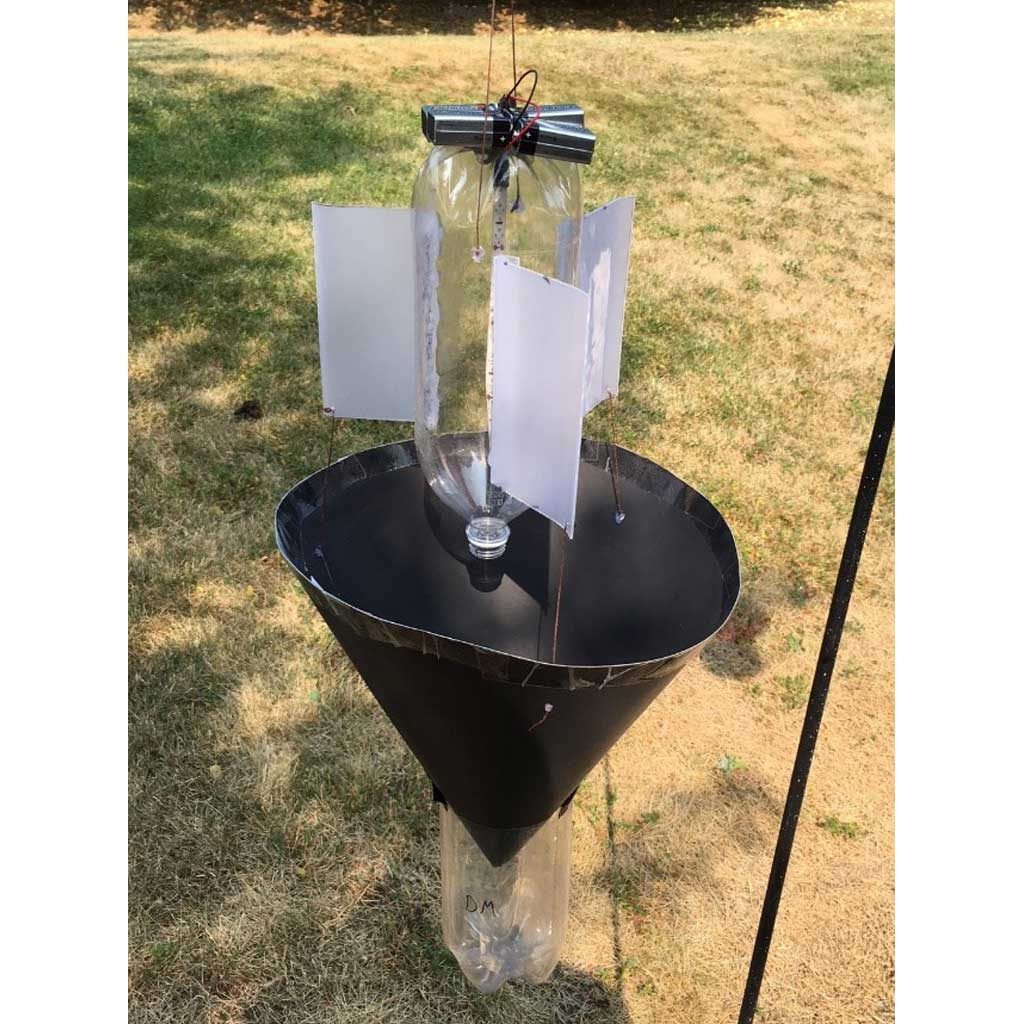
Funnel Trap
This trap was designed by researchers at Michigan State University as a cheaper and lighter alternative to traditional moth traps. Because it utilizes a series of 9-volt batteries attached to an LED light strip this trap is also portable and can be used in more remote locations. The jury is still out whether LEDs are as effective as other types of bulbs in attracting moths but it’s a creative design nonetheless. We built and tested several of these traps with mixed results. If you decide to build one of these, you’ll need some special tools (soldering iron) and electrical wiring knowledge. Here’s a link to the full manuscript which provides detailed instructions for building this trap:
Learn more…
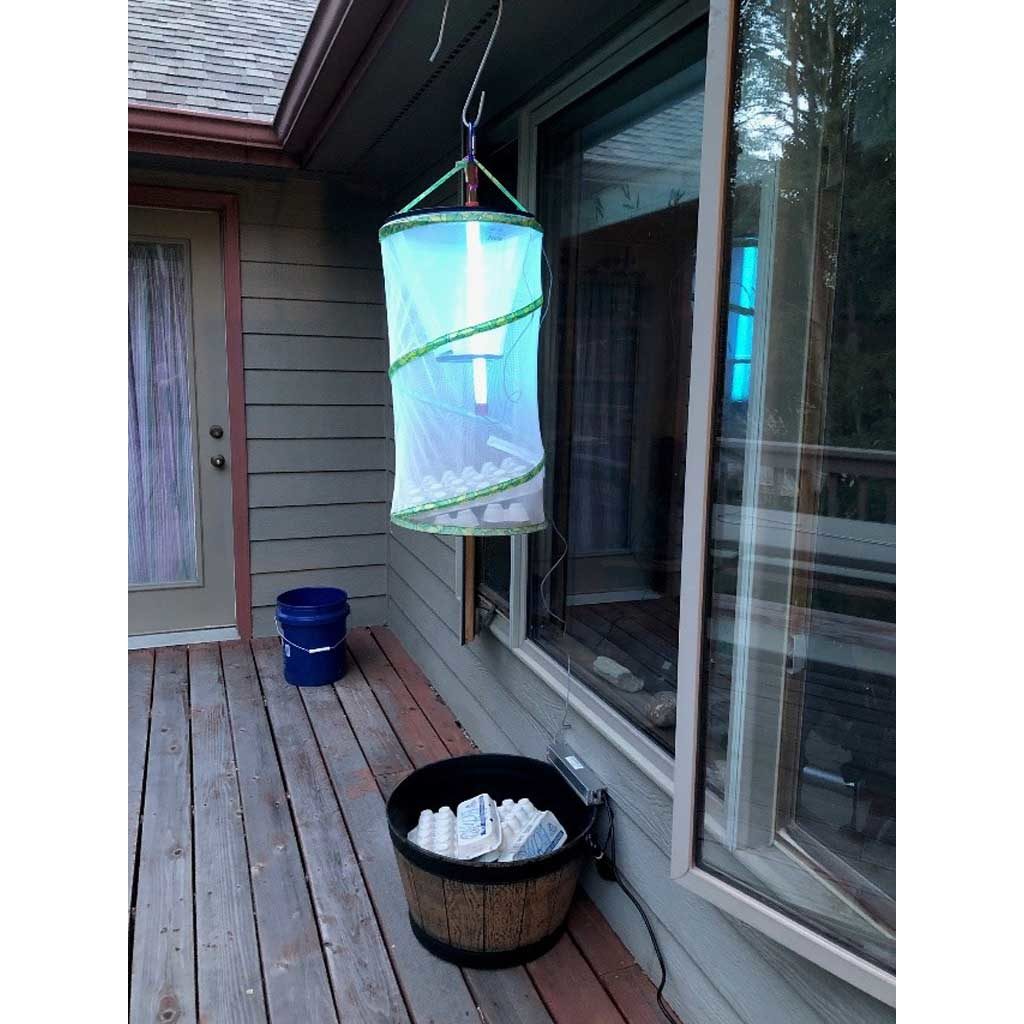
Hamper Trap with egg cartons
This trap uses a collapsible clothes hamper for the trap space, dog head cone for the funnel, and a 15 watt tube blacklight from BioQuip as the light source. A creative, cheap, and effective moth trap.
Photo credit: Kristi Dubois
Light Sheet
Another fun and easy way to observe moths is using a light sheet. This method involves hanging a white sheet and then reflecting a light on to it. The sheet serves two purposes: (1) it helps reflect the light and (2) it provides a surface for moths to rest on. Like with moth traps there are many ways to construct a light sheet. You can simply string a rope between two trees, clip the sheet onto to the rope, and then place a light in front or hang one down from above. Or, you can design more intricate set-ups using poles, etc.
See the videos below for more moth trap ideas.
3. Photograph the Moths You Observe
Although some moths are easily recognizable many are difficult to correctly identify. Many moths look similar at first glance but subtle details often differentiate them as different species. That is why capturing photographs of each moth you observe is an effective way to help you identify them.
Pictures should be as “macro” as possible so you’ll want a close-focusing camera. If you already have a DSLR camera purchase a good macro lens, ideally something that will focus at 1 cm. If you are on a budget or don’t have a lot of photography experience some affordable “point-and-shoot” cameras that work well include: Olympus TG, Ricoh WG, and Lumix ZS models. These cameras generally cost between $250-400 and have good macro capabilities. The Olympus TG and Ricoh WG models have especially good macro capabilities with both able to focus at 1 cm allowing you to get detailed, full-frame photographs of even the smallest moths. We use the Olympus TG-5 and TG-6 models and can vouch for their performance, especially in low-light conditions. We especially like the built-in “focus-stacking” ability of these cameras allowing it capture a series of pictures at different focus points then combining them into one image. This allows for a greater depth of field and provides rich details in the photograph.
Lighting is also an important consideration when photographing moths. Moth scales are highly reflective so direct light or conventional camera flashes can cause overexposure that obscures the true colors and patterns of the moth. If you have a DSLR camera consider using some sort of flash diffuser. The Ricoh WG cameras come equipped with six LED lights surrounding the lens which provides diffuse lighting. An LED light guide accessory can be purchased for the Olympus TG models and we highly recommend it. This guide redirects the camera’s built in LED flash to a ring around the lens. We have captured high quality images of moths at night using this accessory.
Photographing moths in the early morning light also works well. One trick is to collect the moths in plastic ramekins (or other container) and place them in the refrigerator for a few hours. Since moths are poikilotherms (cold-blooded) they will slow down their metabolisms and become less active. You can then place them on a white or wood background to take photographs before releasing them unharmed.
If you don’t want to purchase a close-focusing camera, or if you already have a camera but don’t want to purchase a macro lens you can capture good images with your cell phone. Although the digital zoom on most newer phones can capture decent macro shots of moths, finer details and textures are often fuzzy. We suggest purchasing a Xenvo Pro Lens Kit to enhance the capabilities of your cell phone camera. This kit consists of a lens that clips onto your phone camera and provides a 15x optical zoom allowing you to capture high-quality macro shots with impressive clarity. The kit costs $40 on Amazon, is designed to work with iPhone, Samsung, and Pixel models, clips over most cases phone cases, and comes with an additional wide-angle lens, LED light, quick-release lanyard, and hard travel case. We have used this kit a lot with satisfying results.
4. Identify the Moths You Observe/Photograph
There are several resources you can use to identify the moths you trap/observe.
Please check out our Resources page for links to and descriptions of these sources.
5. Participate in Events/Submit Your Moth Observations/Volunteer
Consider participating in National Moth Week, a week-long celebration of the beauty, life cycles, and habitats of moths and takes place annually during the third week of July. Visit the National Moth Week website or follow them on Facebook for details, to register, or find an event near you.
Consider submitting your moth observations/pictures to Leps by Fieldguide and/or iNaturalist. The links to these sites are listed on our Resources page. If you decide to submit observations to iNaturalist and live in Montana, consider joining the NRRES Montana Moth project. We are excited to see your moth observations and can offer help in identification.
Also, check out our Facebook page to keep up-to-date with our research and upcoming events. Contact us directly if you’re interested in volunteering or have any moth-related questions
Moth Trap Videos
There really is no right or wrong way to make a moth trap. As long as it has a large space where moths can collect, a funnel to guide them in, and a UV light source that’s all you need. Your trap doesn’t need to be fancy or expensive to be effective. For more information about trapping moths check out these videos from mothing aficionado Carl Barrentine:
Mothing 101: Catching Moths
Mothing 392: The Importance of Egg Trays
Mothing 100: Light Trapping Moths
Mothing 391: The Hamper Trap
Mothing 204: Mini-sheet Mothing
Contact Us
Address:
P.O. Box 1242
Lolo, MT 59847
Email:
info@nrres.org
Get the Dispatch
Home | About | Our Research | Moth Guide | Citizen Science | Resources | Support | Updates & Events | Contact
Copyright © 2020 Northern Rockies Research & Educational Services